It's been a while since I've proved my awesomeness, leading some to question it. How dare they!?!?! Anyway, our firepit area in the back was a big fat mess, usually muddy with weeds as tall as me. It was time for an upgrade, so I went to work.
Here are the before pictures:
As you can see, it's just a big area full of weeds. If you look closely, there are some big logs and a pile of sticks in there where the fire pit is.
I decided to make the area 10x16. First, I dug 6 holes for posts. 1 in each corner, and 2 in the middle of the long side. Then I "planted" the 4x4 posts in the ground, and secured 2x10s to them.
You can't see the posts here, but the 2x10s are attached to them.
In most areas, I had to dig a trench to get the 2x10 across to the other post and keep it level. I tried to dig the holes about 20" deep, but some areas were really rocky so I only got them like 15". I wanted the top of the posts to be 2" below the top of the 2x10.
When finished, I had a well-defined boundary that was level, which is key. This whole process was the hardest part. It took me 2 Saturdays of back-breaking shoveling. If you haven't noticed, I'm pretty out of shape and so this required a long recovery time for my body.
Once the perimeter was level and secure, I dug up the center area, tossing dirt from the higher areas to the lower areas, and also digging a 4' hole in the middle for the fire pit.
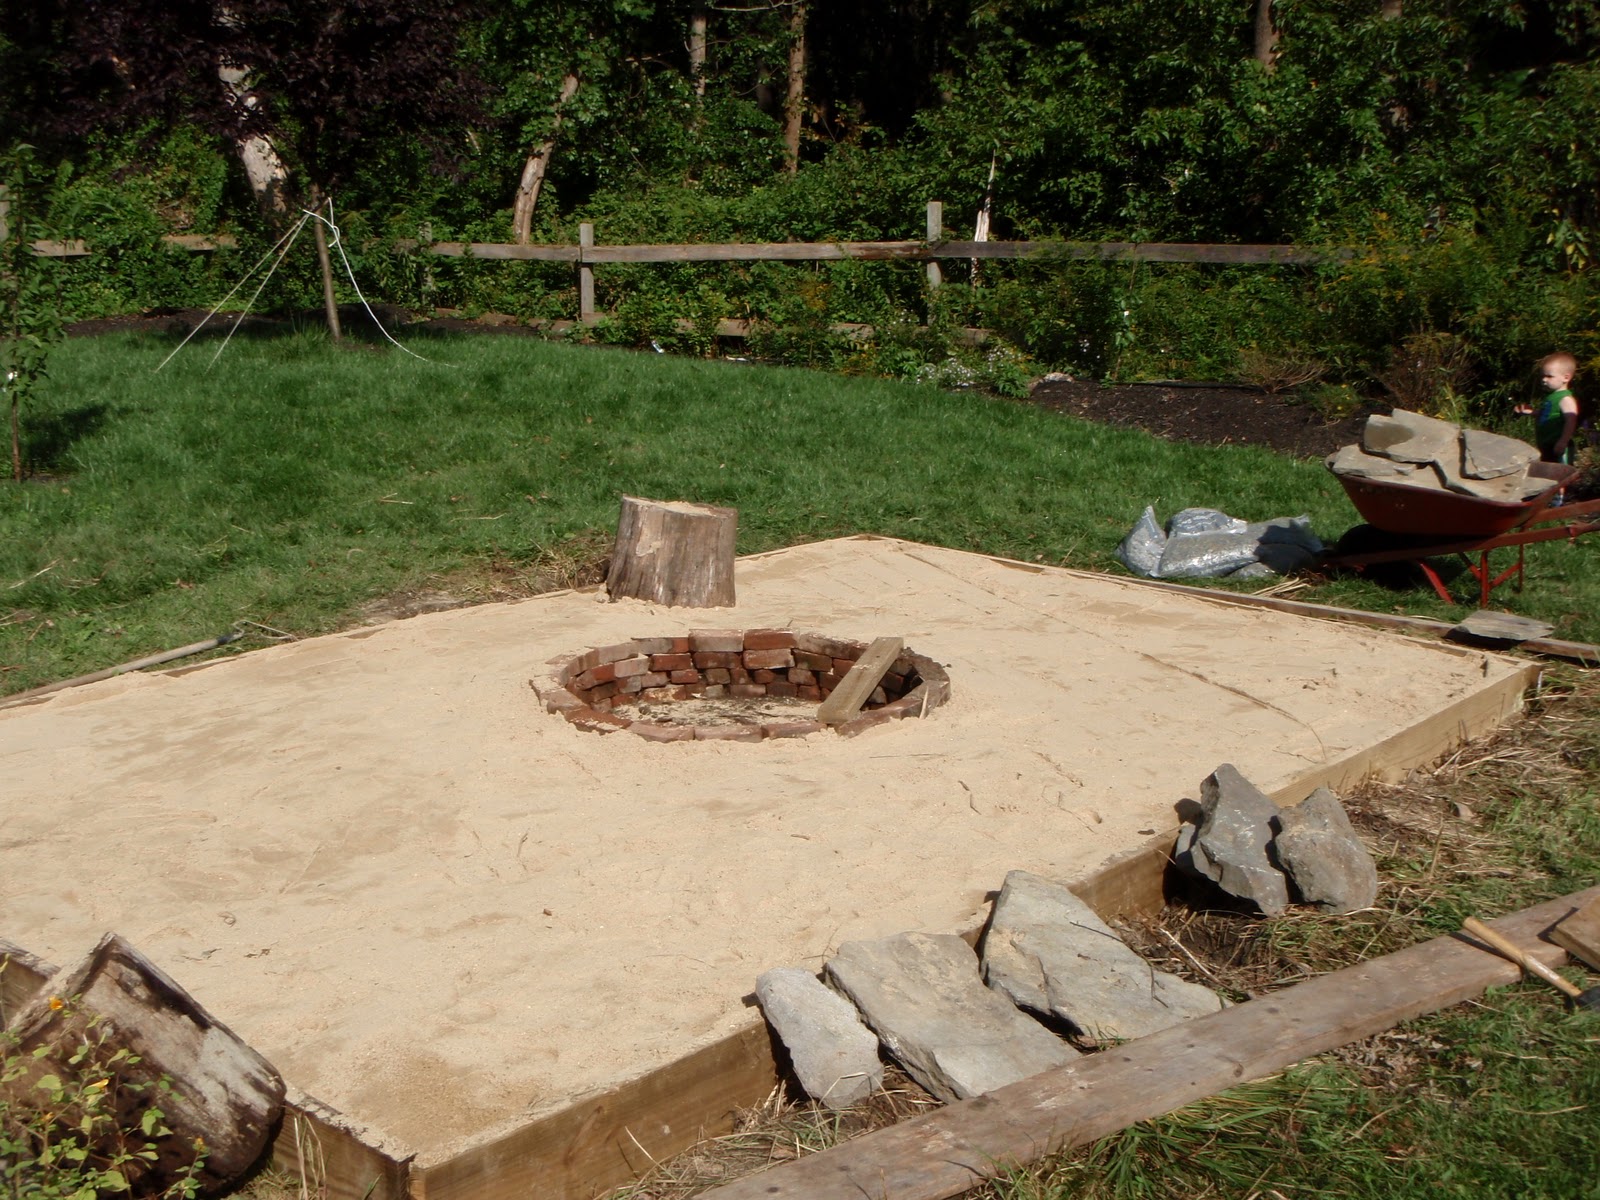
Next, I built the ring, using old broken bricks from my brick-path days. Then I used whole bricks for the top row to make it pretty on top. I decided to not use any sort of mortar, because that would be way too much work.
The next step was to fill the area with sand. I got a cubic yard of coarse sand delivered and spread it in a couple of hours.
Then, I got large stepping stones from a quarry in Hingham. 700 pounds' worth, which barely fit in the Jeep. Melanie told me where to put the stones. We turned out to be a little short of stone, so we used large stones from our yard to fill in the gaps.
The final step was to put crushed stone in the gaps. That was pretty easy. I think it looks pretty good. The overall cost was a little under 400 bucks and about 30 man hours.
Now, for the final before/after:


6 comments:
Wow, the first to comment! This never happens to me. Looks great, Kent!
That looks like one heck of a project, and a job well done. Things look jest dandy. It's looking quite a bit different from when I visited last. 'Bout time I made another visit to you folks.
I was excited to see the title of this post because that's generally what i have to tell people when we have company... Always trying to pay us. Crazy kids!
BUT this is truly spectacular! The palmers are applauding you over here!
K, I have a great piece of property beside my school, wanna come build another fire pit here? I've been wanting to do it for a long time.
Since I have experienced this in person, I must say that this truly is awesome.
This is amazing. Very impressive work, Kent.
Post a Comment